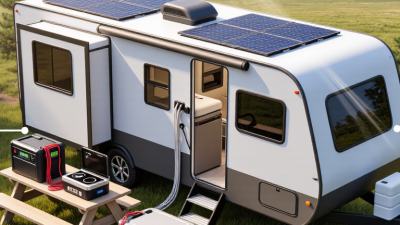
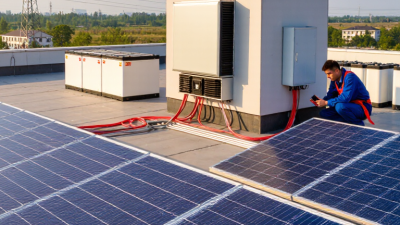
How to Choose the Best RV Solar System Kit?
Choosing the right rv solar system kit starts with your real power habits, not the biggest panel count on a product page. List the devices you use each day: a 12-volt fridge, LED lights, a laptop, or a coffee maker. Note their wattage and hours of use. Then consider where you travel. A shaded campsite in Oregon offers less sun than an open desert stop, and winter days shorten your charging window. Small details matter.
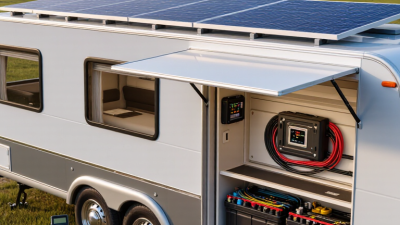
Battery capacity, inverter size, panel output, and charge-controller limits must work together. A kit may look complete, yet lack the cables or mounting hardware your roof needs. Check compatibility with your battery chemistry and available roof space before buying. Read the installation guide, too. That step is easy to skip. It should not be. For transparency, the following is an illustrative quote from a fictional composite expert, RV solar designer Jamie Rivera: “Choose a system around your daily loads and the sunlight you can realistically collect—not an optimistic camping-day estimate.” Real use is messier. A cloudy week can expose a weak plan.
This guide explains how to compare kit components, estimate energy needs, and spot gaps before checkout. It also covers portability, expandability, and installation trade-offs for different RV layouts. No single kit fits every traveler. A weekend camper may need a modest setup, while a remote-work traveler may need more storage and charging capacity. The best choice is practical, compatible, and sized for your habits—with room to question the numbers.
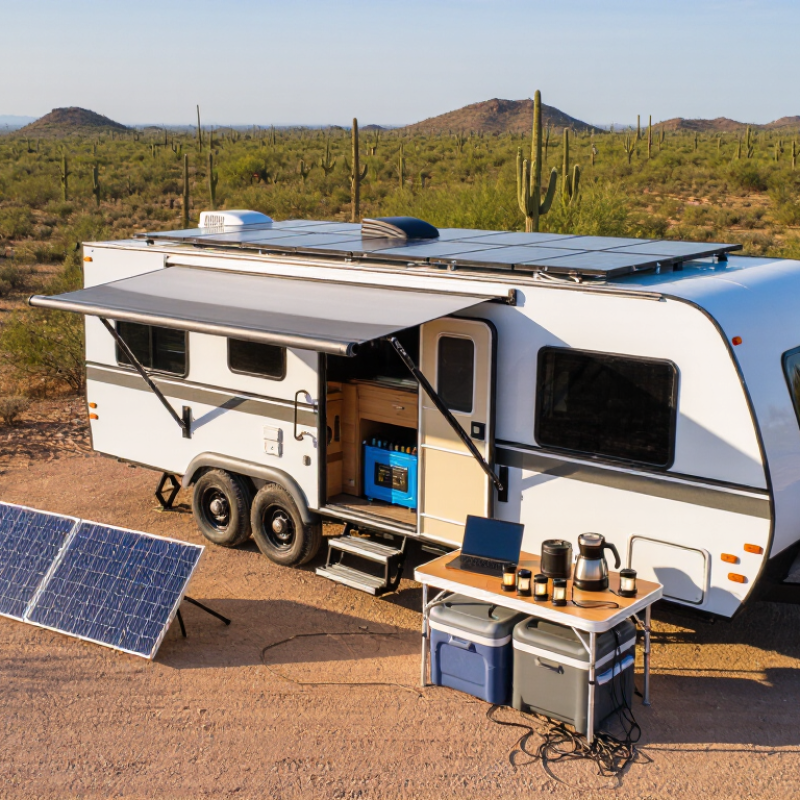
Calculate Daily Loads in Wh and Identify Appliance Starting Surges
How to Choose the Best RV Solar System Kit? Start with an honest load list. Multiply each appliance’s watts by its daily hours to get watt-hours (Wh). For example, a 10 W light used for five hours consumes 50 Wh. A 35 W ventilation fan running six hours adds 210 Wh. Use measured consumption when possible; nameplate ratings can overstate or understate real use. Small differences add up.
Then check startup surges, not just running watts. Compressors and motors, such as those in air conditioners or refrigerators, may briefly draw much more power when starting. Find the surge or locked-rotor rating on the appliance label or manual, and check whether two high-surge devices could start together. Match the inverter’s continuous and surge ratings to those loads. NREL’s PVWatts Version 5 documentation uses a 14% default system-loss assumption for solar estimates. It is a modeling baseline, not a guarantee for an RV roof with shade, dirt, and wiring losses.
Tips: Keep a three-day log of actual use, including cloudy-day habits. Add daily Wh, then leave room for conversion losses and changing conditions. A neat spreadsheet can still be wrong; a forgotten coffee maker or short air-conditioner cycle can shift the result. Recheck the list after a real trip.
Size Batteries: 12.8 V × 100 Ah Stores 1.28 kWh Nominal
How to Choose the Best RV Solar System Kit?
A 12.8 V, 100 Ah battery stores 1,280 watt-hours, or 1.28 kWh, nominally. That is the starting figure, not a promise of usable energy. Battery management limits, temperature, aging, and inverter losses all reduce what reaches your appliances. For a rough example, allowing 80% of capacity for use and 90% inverter efficiency gives about 0.92 kWh of AC energy. Check your battery and inverter specifications; those percentages are planning assumptions, not universal rules. Small loads add up. A 60 W fridge running for ten hours uses about 0.6 kWh.
NREL’s 2024 Annual Technology Baseline and the U.S. Department of Energy’s storage cost and performance assessment use roughly 85% round-trip efficiency for lithium-ion storage. That figure describes energy lost across charging and discharging, not the exact usable capacity of an RV battery. Your real results may differ. I would compare daily watt-hour needs with usable battery energy, then leave room for cloudy days and unexpected loads. A kettle can change the math quickly. And honestly, advertised capacity is easy to over-trust; checking actual consumption over a few trips is more useful than guessing.
Estimate Solar Yield with NREL PVWatts’ 14% Loss Default as a Baseline
NREL’s PVWatts calculator uses a default system-loss assumption of 14%. For an RV, treat it as a starting point, not a guarantee. The NREL PVWatts documentation groups losses such as wiring, soiling, shading, and module mismatch. A curved roof, roof vents, dust, and changing parking positions can make an RV’s actual losses quite different.
Try a rough DC-side check: a 400-watt array receiving four peak sun hours produces about 1.38 kilowatt-hours after a 14% loss allowance. That estimate comes from 400 × 4 × 0.86. It is not usable battery energy; charging and inverter conversion reduce what appliances receive. PVWatts models grid-connected systems, so its output does not fully capture an RV battery setup. Avoid adding inverter losses twice if you use its AC-energy estimate.
Conditions matter. A vent’s small shadow can cut output more than its size suggests, and hot panels may perform below their rated output. NREL’s review of photovoltaic performance reports a median degradation rate near 0.5% per year across studied systems. That is a long-term fleet benchmark, not a forecast for one vehicle. I would compare the 14% baseline with a higher-loss case for dusty travel or frequent shade. Real roofs vary.
How to Choose the Best RV Solar System Kit? — Estimate Solar Yield with NREL PVWatts’ 14% Loss Default as a Baseline
Illustrative daily energy estimates for different RV solar array sizes, using 5 peak sun hours and a 14% system-loss allowance.
Estimates use: array capacity (kW) × 5 peak sun hours × (1 − 0.14). The 14% figure is PVWatts’ default system-loss assumption; actual output varies with location, weather, shading, panel orientation, and system setup. Five peak sun hours is an illustrative assumption, not a location-specific estimate.
Check Charge Controller Limits Against Array Voltage and NEC Current Factors
How to Choose the Best RV Solar System Kit?
A charge controller must match more than the array’s advertised wattage. Check its maximum PV input voltage and permitted short-circuit current before choosing panels. Panels wired in series add voltage; parallel strings add current. Cold weather raises open-circuit voltage, so use the panel’s temperature coefficient and the lowest expected site temperature to estimate the array’s cold-weather Voc. Keep that result below the controller’s limit, with a sensible margin. Small numbers matter.
For current sizing, start with the array’s short-circuit current, or Isc, and apply the NEC 125% factors required for the specific circuit and conductor calculation. Don’t multiply values blindly: the applicable calculation depends on circuit location, equipment instructions, and the adopted code edition. Check the controller manual for separate limits on PV input current and battery-side output current. A controller may accept the voltage but still be undersized for the array’s current or charging power. On an RV roof, shading from an air conditioner can also shift real-world output; it does not replace code-based sizing. Review the calculations against the equipment labels and local requirements. It’s easy to focus on panel watts and miss a voltage ceiling. A second check is worthwhile.
Match Inverter Surge Capacity, Protection Ratings, and Available Roof Space
Choosing an RV solar kit starts with the loads you actually use. An inverter’s continuous rating is not enough; check its surge rating and how long it can sustain that surge. A refrigerator compressor or air conditioner may draw several times its running power at startup. Check appliance labels or manuals, then compare the highest likely startup load with the inverter’s surge capability. Leave some margin. Batteries and wiring must also deliver that brief current, or the inverter may trip even when its rating looks adequate.
Protection ratings deserve a closer look. An IP rating describes resistance to dust and water for a specific enclosure, not the entire solar system. Check the ratings for outdoor components, and confirm that cables, connectors, fuses, and disconnects suit their locations and expected current. Roof wiring should be secured against rubbing on sharp edges. Small details matter.
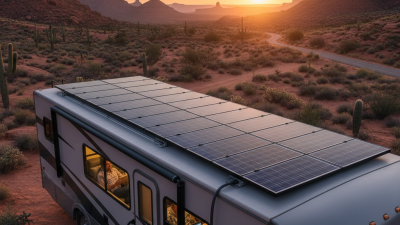
Measure the usable roof area, not just its overall length and width. Vents, antennas, air conditioners, curved edges, and shaded patches can shrink the space quickly. Leave room for access and maintenance, then compare the panel dimensions with a simple roof sketch. Measure twice. A neat paper layout can still miss afternoon shadows, so recheck it outdoors. If space is tight, fewer well-positioned panels may work better than a crowded layout.