Top RV Solar Panels for Global Buyers?
Choosing the right RV solar panel for global markets is not a simple wattage contest. A panel that performs well in Australia may fit poorly on a compact European camper. Roof space, sunlight, weather, battery voltage, and local certification all matter. The best rv solar setup begins with the vehicle, not the product label. That sounds obvious. It is often overlooked.
When comparing panels, buyers should check rated power, dimensions, weight, cell technology, and heat performance. A 200-watt panel may produce less energy under heavy shade or high temperatures. Flexible models can follow curved roofs, but they may release heat less effectively. Rigid framed panels usually offer stronger protection and easier inspection. Real use is messier. Dust gathers near road edges, cables face vibration, and roof vents create narrow installation zones. A reliable review should explain these trade-offs instead of repeating manufacturer claims.
This guide examines leading RV solar options for different climates, vehicle sizes, and travel habits. It considers independent testing where available, warranty language, connector quality, charge-controller compatibility, and after-sales support. Buyers should confirm shipping rules, electrical standards, and installer requirements in their destination country. Those details can change the final cost. No single panel wins everywhere. Even experienced owners can misjudge energy needs after adding a compressor fridge, satellite equipment, or winter heating. Use these comparisons as a starting point, then measure your roof, estimate daily consumption, and seek qualified technical advice before installation. Careful planning beats impressive packaging.
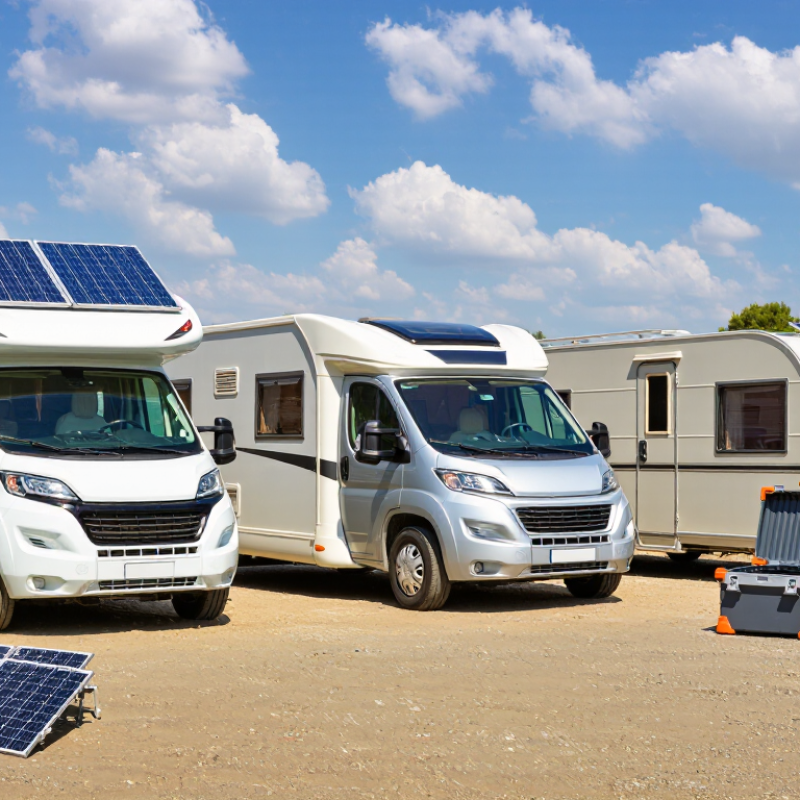
RV Solar Panel Types and How They Work
RV solar panels differ by cell structure, surface design, and electrical output.
Monocrystalline panels use high-purity silicon cells. They usually deliver strong efficiency in limited roof space.
Polycrystalline panels are generally less efficient, but may offer a lower purchase cost.
Thin-film panels are lighter and more flexible. However, they often need more roof area for similar power.
The Fraunhofer Institute’s Photovoltaics Report 2024 places leading commercial module efficiency around 22% to 24%. RV buyers should not expect the same result on a moving vehicle. Heat, dust, partial shade, and poor panel angles reduce daily production.
Shade changes everything. A 200-watt panel may produce far less during cloudy travel or under tree cover. Flexible panels also deserve caution. They fit curved roofs, but repeated heat exposure can shorten service life.
Each panel converts sunlight into direct current. A charge controller regulates that current before it reaches the battery. An inverter changes stored battery power into household-style alternating current.
Rigid panels usually provide better airflow and mechanical protection. Portable folding panels can be aimed toward the sun, but they require setup and secure storage.
The International Energy Agency Photovoltaic Power Systems Programme reported global photovoltaic capacity above 1.4 terawatts at the end of 2023. That scale confirms solar’s maturity, not perfect RV performance.
Real-world testing still matters. Check roof temperature, shade patterns, cable length, and battery capacity before trusting the label.
Key Specifications for Comparing RV Solar Panels
Top RV Solar Panels for Global Buyers?
Comparing RV solar panels starts with usable output, not the largest wattage printed on the frame. Measure the roof first, including vents, air conditioners, and walking space. A 200-watt panel may fit better than a larger model with awkward mounting points. Check the panel’s dimensions and weight carefully. Roof loading matters on older recreational vehicles. Efficiency is useful, but it does not replace good placement. Partial shade can reduce production sharply.
Electrical specifications need closer attention. Compare maximum power voltage, open-circuit voltage, and operating current with the solar charge controller. The panel’s open-circuit voltage must remain safe during cold weather. Voltage can rise as temperatures fall. I once overlooked this detail when comparing panels for a winter trip. That mistake made the preferred option less practical. Temperature coefficient figures reveal how output changes under heat. Lower losses usually matter on sunny metal roofs.
Look for a narrow power tolerance, credible safety testing, and clear installation instructions. Salt air, hail, vibration, and repeated roof movement can expose weak construction. Tempered glass may offer durability, while lightweight flexible panels reduce roof weight. Each choice has a compromise. Warranty terms should explain coverage, exclusions, and performance expectations in plain language. Confirm connector types and cable lengths before ordering internationally. Shipping damage is inconvenient. A simple inspection checklist helps: check the frame, junction box, cables, and serial documentation before installation.
How to Choose Panels for Different RV Power Needs
Choosing the right RV solar panel starts with your daily power audit. List each appliance, its wattage, and hours of use. A phone charger needs little energy, while a refrigerator, inverter, or medical device can quickly raise demand. Many travelers underestimate cloudy days and overnight battery losses. That mistake can make a well-sized panel feel weak.
For light use, a compact 100–200 watt system may support lights, phones, and small fans. Weekend travelers often need 300–500 watts for refrigeration and basic cooking. Full-time RV users may require 600 watts or more, especially when using laptops, pumps, and inverters. Roof space matters. Measure around vents, air conditioners, and skylights before selecting panel dimensions. Flexible panels fit curved surfaces, but rigid panels usually offer better airflow and long-term durability.
Match the panels with a suitable charge controller and battery bank. A high panel rating cannot fix an undersized battery. Check voltage compatibility, operating temperature, cable length, and protection against moisture. In hot climates, ventilation beneath rigid panels can improve performance. In shaded campsites, several smaller panels may perform better than one large panel. I have found that real output rarely matches the number printed on the label. Dust, heat, angle, and partial shade reduce production. Leave some capacity for future equipment, but avoid paying for unused power. The best choice is practical, measurable, and slightly conservative.
Top RV Solar Panels for Global Buyers: Choosing Panels for Different RV Power Needs
These planning ranges represent common RV energy profiles. Estimated daily solar output assumes approximately 4 peak-sun hours and 80% overall system efficiency, accounting for temperature, wiring, controller, and battery losses. Actual results vary with weather, latitude, roof space, shading, and seasonal sunlight.
Installation, Compatibility, and Safety Considerations
For global RV buyers, the best solar panel is not always the most powerful one. Installation space, roof shape, and travel conditions matter more. Measure the usable roof area before choosing a panel. Check the charge controller’s voltage and current limits. Confirm that the battery chemistry and inverter accept the system’s output. A mismatch can reduce charging or damage equipment.
Fit matters more than headline wattage.
Tips: Use UV-resistant cables, weatherproof connectors, and correctly sized fuses. Keep panels away from roof vents and air-conditioner shadows when possible. Label positive and negative wires clearly. Test polarity with a meter before connecting the battery. Leave room for airflow, because hot panels produce less energy.
Safe installation requires careful mounting. Roof fasteners must suit the RV structure, not just the outer coating. Cable entry points need a durable seal, yet sealant can fail after repeated heat and vibration. Inspect them after the first long trip. Never work on energized wiring during rain or while standing on a wet roof. Follow local electrical and vehicle regulations, especially for grounding, overcurrent protection, and battery storage. In practice, small oversights cause many faults. I would rather accept slightly lower output than risk loose hardware, damaged cables, or an overloaded controller. A professional inspection is sensible when the roof is thin, curved, or already crowded with equipment.
Global Buying Factors: Climate, Standards, and Support
Top RV Solar Panels for Global Buyers?
Climate should guide your panel choice more than advertised wattage.
In hot regions, high temperatures can reduce output noticeably. Dusty roads also cover surfaces faster than expected. In humid coastal areas, corrosion resistance and sealed junction boxes matter. Snowy routes need strong mounting hardware and a realistic winter output estimate. My first comparison focused too heavily on peak power. That was a mistake.
Standards deserve equal attention.
Check whether the panel and controller follow recognized electrical and safety standards, such as IEC requirements. Confirm the system’s voltage matches your battery and inverter. An RV installation should also have suitable ingress protection, secure connectors, and documented test information. Local inspection rules may differ, so verify them before purchase. Specifications can look complete while omitting important operating limits.
Tips:
Ask for a clear datasheet, installation guide, and warranty terms. Confirm replacement-part availability in your travel region. Responsive technical support matters when a connector fails far from home. Keep photos of the installation and record performance in different weather. Real-world data may challenge the brochure. Leave room for that. A slightly smaller system with dependable support can serve better than a powerful system with uncertain service.